
Create and organize a PlayWeld project
Understand project creation, engine identity, native files, and the records kept alongside your game.
On this page
A PlayWeld project joins the game directory with records owned by the platform service. Selecting a folder in another application does not register it automatically with PlayWeld.
Create a project deliberately
Project Home uses a six-stage wizard: name, description, engine family, genres, parent directory, and confirmation. Use a new location for experiments. Review the engine and destination before confirming; the chosen engine family is part of the project's identity.
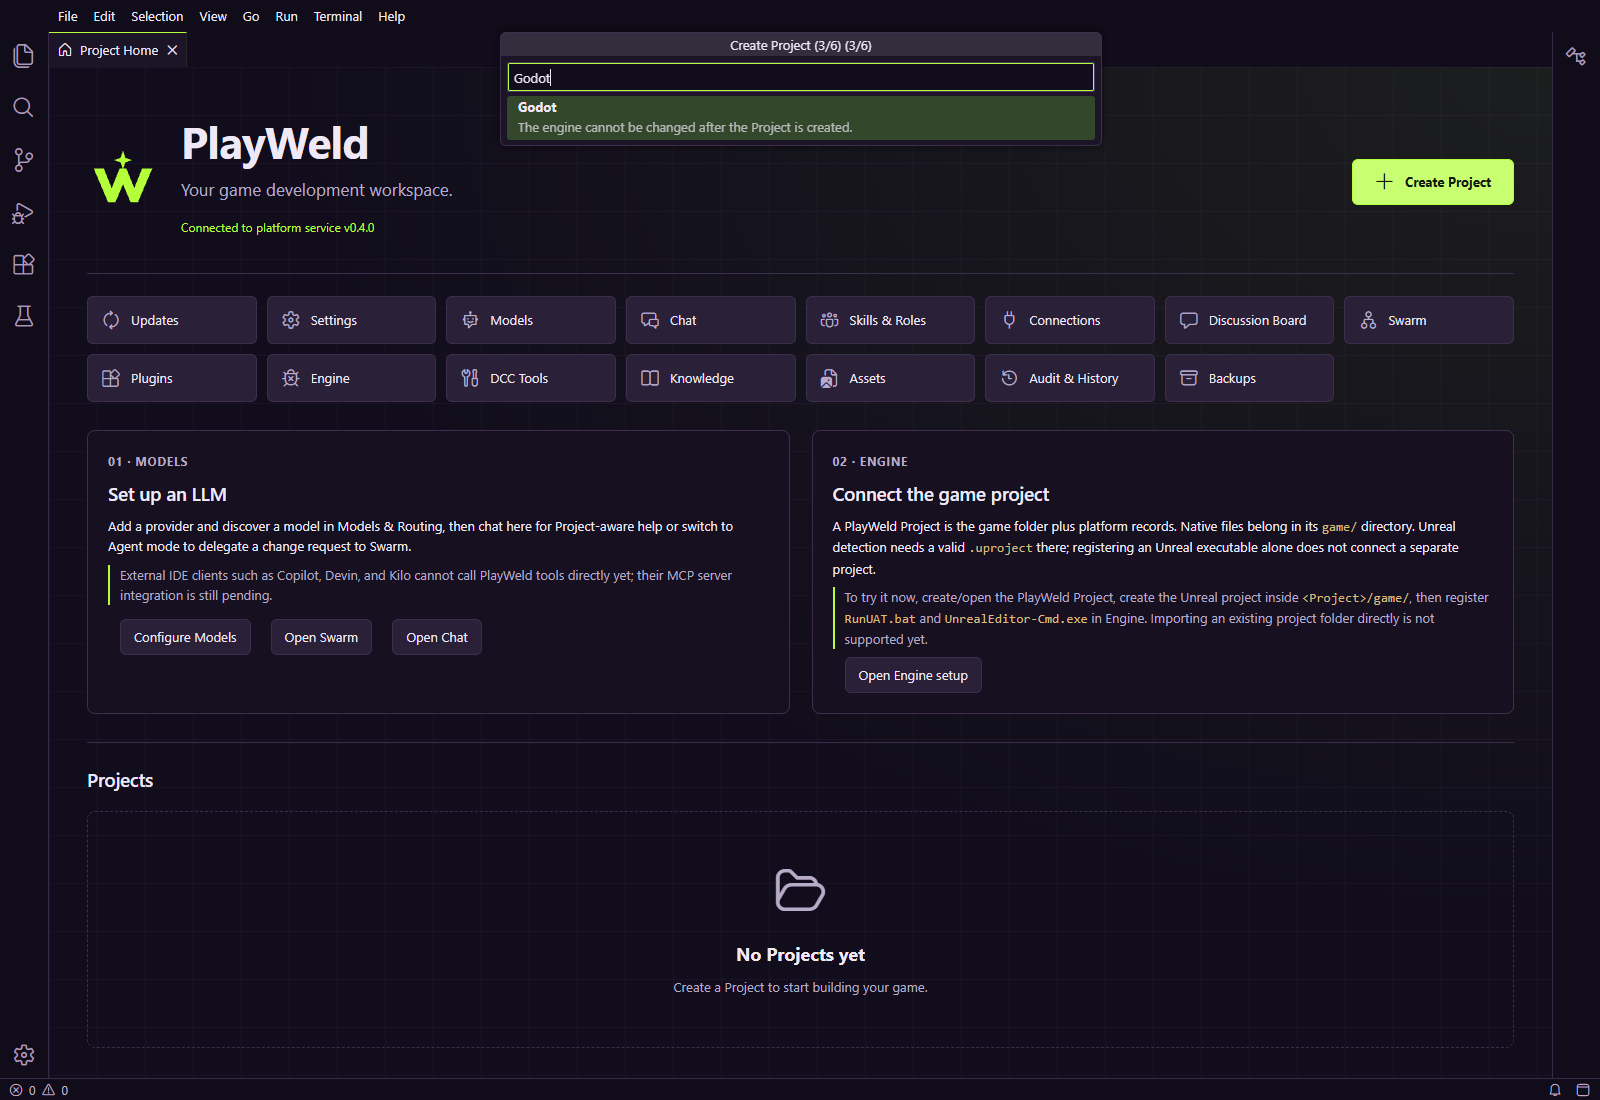
The wizard in the development browser Control Room; this example selects Godot.
Open the new project from the registered-project table. Confirm the workspace path if Theia presents a trust prompt. Some screens select a project independently, so check their selectors when moving between games.
Know which files belong where
| Location | Purpose |
|---|---|
game/ |
Native Unity, Unreal, or Godot project files |
docs/ |
Design documents and adopted decisions |
gamecrafter.project.json |
Project identity and engine metadata |
AGENTS.md |
Instructions for work on this particular game |
.agents/skills/ |
Project-specific skill instructions |
.gamecrafter/ |
Operational data managed by the service |
Some technical names retain PlayWeld's former GameCrafter identity. Preserve them unless a supported migration changes them.
Check the outcome
A successful creation produces a registered project with the intended folder and engine. It does not install an engine or populate an empty native game directory. Add valid engine files before expecting file detection or headless operations.
For independent copies, use the supported clone or restore workflow. Copying another project's manifest can duplicate its identity. See backup and recovery before moving important work.